If you haven’t done a live soundcheck before, the process may seem a little intimidating. What are you supposed to do? What shouldn’t you do? Why is it even necessary? Well, fret not! We’ll answer those questions in this introduction to drum soundchecks, so you can go on stage without feeling like you might screw up somehow, or even embarrass yourself.
Why a Soundcheck?
Before we get into the process of a typical drum soundcheck, we should touch on why soundchecks are important in the first place. There are three major ways they improve live band performances.
It’s a Final Gear Check
First, a soundcheck acts as a final gear test, making sure everything is working properly. That goes for the performers’ gear like keyboards and amps, but also for smaller things that venues typically provide, like mic cables and DI boxes. With so much equipment involved in a live band performance, it’s very common to find things that don’t work. You don’t want to run into those gear problems during a performance.
Gets a Starting Mix
Second, soundchecks give the sound engineer a chance to get a great starting mix of your particular band. Every band is different. Each has its own unique gear and each band member has their own playing style. A venue’s sound engineer usually knows their room very well, enabling them to adjust volumes and frequencies to work in the space. That can’t be done effectively on the fly. Sure, adjustments will be made during the show, but the audience should hear a good mix from the start.
Sets the Stage Sound
Third, a soundcheck will allow the band to dial in their stage sound. Musicians play better when they can hear themselves and their bandmates. Compared to a band’s rehearsal space, stages often sound very different. Volumes may be louder, the band may be more spread out, and reflective walls and ceilings may be much further away.
The soundcheck will allow each band member to get used to the stage sound and get appropriate monitor levels. Whether the band is using in-ear monitors, standard monitors, or even no monitors, adjustments can be made during a soundcheck.
The Process for Drummers
With those benefits in mind, we can get into the actual process of soundchecking drums. After your drums are set up and the sound engineer has installed mics and cables, the drum soundcheck begins. What typically happens? While it’s mostly predictable, the process will partially depend on the venue’s microphone setup.
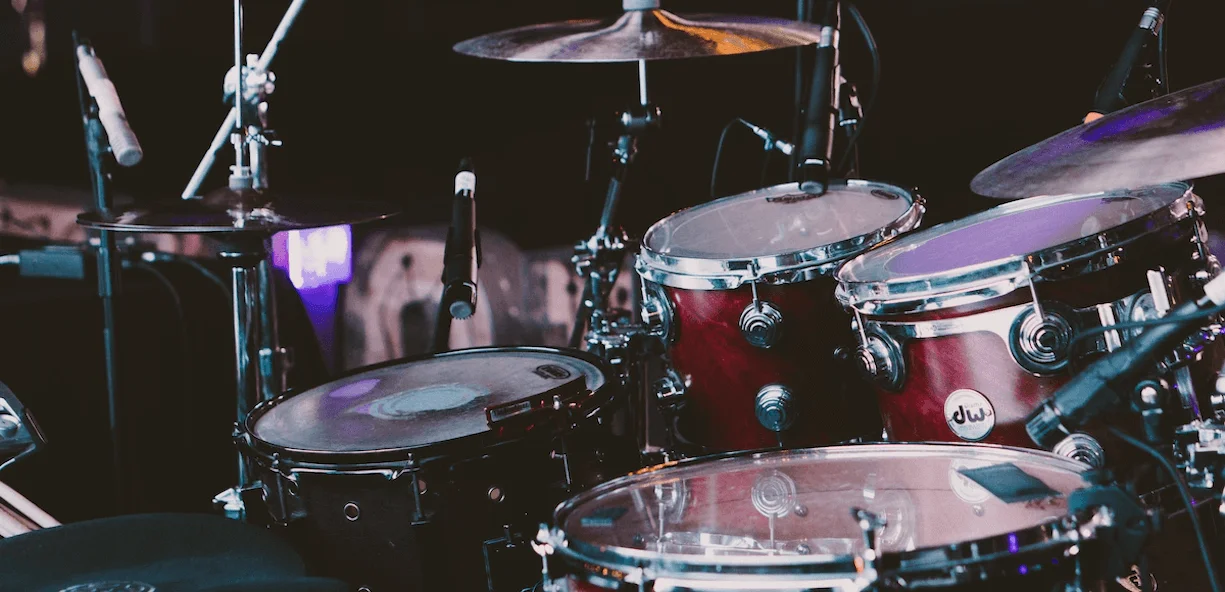
Some venues will only use a couple of drum mics, while others use full mic setups. For this article, we’ll assume the venue has mics for the bass drum, snare drum, each tom, and a couple of overhead mics. That’s common for medium to large music venues, where soundchecks are most often done.
Go Through Components
Step one is usually going through each piece of the drum set that has a microphone on it. As you go through this step, you’ll want to keep a couple of rules in mind – keep things simple and play about as loud as you might play live. Doing both of these will make the engineer’s job a lot easier.
Bass Drum
First the bass drum. The engineer will usually just say ‘kick’ or ‘bass drum’, which means start playing the bass drum. That doesn’t mean playing the latest triple-stroke pedal technique you’ve been working on. Again, keep it simple!
Most engineers want to hear basic quarter-notes at a tempo that allows them to hear both the attack and the resonance. 60-70 beats per minute is usually good. If you’ll be playing super-fast double-pedal in the show, maybe throw in a flourish here and there so they can hear that style. Even then, try to keep it simple overall for this portion of the soundcheck, unless the engineer tells you otherwise.
Snare
The snare is usually the second drum to check. The basic quarter-note and volume rules apply here, as well. If you want to subdivide the quarter notes once in a while, that’s usually OK. If you’ll do rimshots during your show, you might want to try to get some of those into the mix.
Toms
Next up, toms. You’ll usually start with the smallest tom. Soundcheck that tom, then the sound engineer will tell you to move to the second-smallest, and so on. Playing at a slower tempo is especially important here. Toms have long sustain, so the engineer will want to hear how long the resonance lasts.
You may have to add some external dampening during this part of the soundcheck. Bottom heads, in particular, often ring longer than you want, so those may need to be tamed down during the soundcheck. You’ll have extra dampening with you, right? New gel dampeners should stay stuck on bottom heads, but older gels will likely fall off during the show. As we mention in Easy Essential Emergency Drum Supplies, some gaffer tape might be a better option for bottom heads.
Play the Whole Kit
After the drums are all checked individually, you may be asked to play the whole kit. What should you play? Keep the sound engineer in mind. In this step of the process, the engineer wants to hear how the bass, snare, toms, and cymbals all mix with each other.
It’s a good idea to play a groove that incorporates each of those components as best as you can. You could utilize toms in a main groove or use tom fills every couple of measures. Play in your band’s style, while giving the engineer the full spectrum of sounds. This will allow the engineer to make adjustments on certain channels, hear the result quickly, and re-adjust if necessary.
One helpful idea might be to work on this part of the soundcheck ahead of time. Maybe it’s a groove that has a backbeat, toms in between the backbeats, and bigger tom fills every 4th measure that end with a crash. Switch from hi-hat to ride cymbal every 4 measures. Maybe play the ride bell for a couple of measures. Playing the whole kit could last 10 seconds or up to a minute or two. The engineer will generally tell you when the drum mix is complete.
Mixing the Band’s Stage Sound
The process of mixing monitors may vary, depending on the band’s setup. Some bands mix their own in-ear monitors. A more common scenario is a band using the venue’s wedge-type monitors. That’s the situation we’ll discuss here.
Getting the stage monitor levels dialed in is something that may happen after all the individual instruments are mixed, but more often it will be done at the same time.
It’s pretty simple. Say you’re doing your drum soundcheck. After checking the bass drum (as described above), the sound engineer will usually ask if anybody wants that instrument in their monitor. Whoever does can point and hold their index finger in the air to let them know ‘yes’. If you want that in your monitor, keep your finger pointed while you continue to play the bass drum. The engineer will then add the bass drum into monitors one-by-one. When you think the bass drum sounds good in your monitor, stop pointing (or point down if there’s too much). Maybe give a thumbs-up or a head nod to show you’re good with the monitor level.
The monitor mixes get completed as each band member goes through their soundcheck process. An instrument gets checked, ‘does anyone want that in their monitor?’, point until you’re satisfied, and on to the next instrument. Remember, if you think you’ll want many channels coming through your monitor, don’t go overboard right away. Leave some room for all of the instruments.
Full Band Check
Finally, the full band will typically play a portion of a song, or even a full song or two. The song chosen should be something that typifies the band – nothing that’s out of the ordinary in terms of volume or speed. Then play the song as you normally would in a live show.
The engineer will make sure all of the instruments are balanced from the audience’s perspective, and that’s the end of the process! If you noticed anything sounding way off, you can bring it up at this point. Otherwise, your job is done!
Final Tips
For those unfamiliar with playing on a fully-equipped stage with an on-hand sound engineer, it’s important to keep a few things in mind. First, if you’re using standard wedge monitors, the stage sound might not be perfect, and that’s OK. You and the engineer could tweak the mix for an hour, but you can’t expect it to sound like the headphones you’re used to or like the band rehearsal spot you play in. A better goal is to get the sound to a good enough point where you can hear everything you need to hear, then just have fun.
Which brings up the second point – being nice to the sound engineer. Most engineers know what they’re doing and try their best. If you need adjustments, ask nicely. If you’d like to use a piece of gear that the venue owns, don’t use it without asking first. When something sounds a tiny bit off during the show, maybe just live with it, rather than asking ‘can I get 5% more pan flute in my monitor?’ in between songs.
That doesn’t mean having low standards. It just means you understand that small imperfections are a part of live shows, and you’re not nitpicking the engineer’s work. Plus, the more a venue enjoys working with you, the more likely they’ll want you back.
Conclusion
That’s it! Hopefully this information can help you get the most out of an upcoming soundcheck. After you get a couple under your belt, you’ll be much more comfortable with the whole process. Good luck!
By Peter Treuden – About the Author